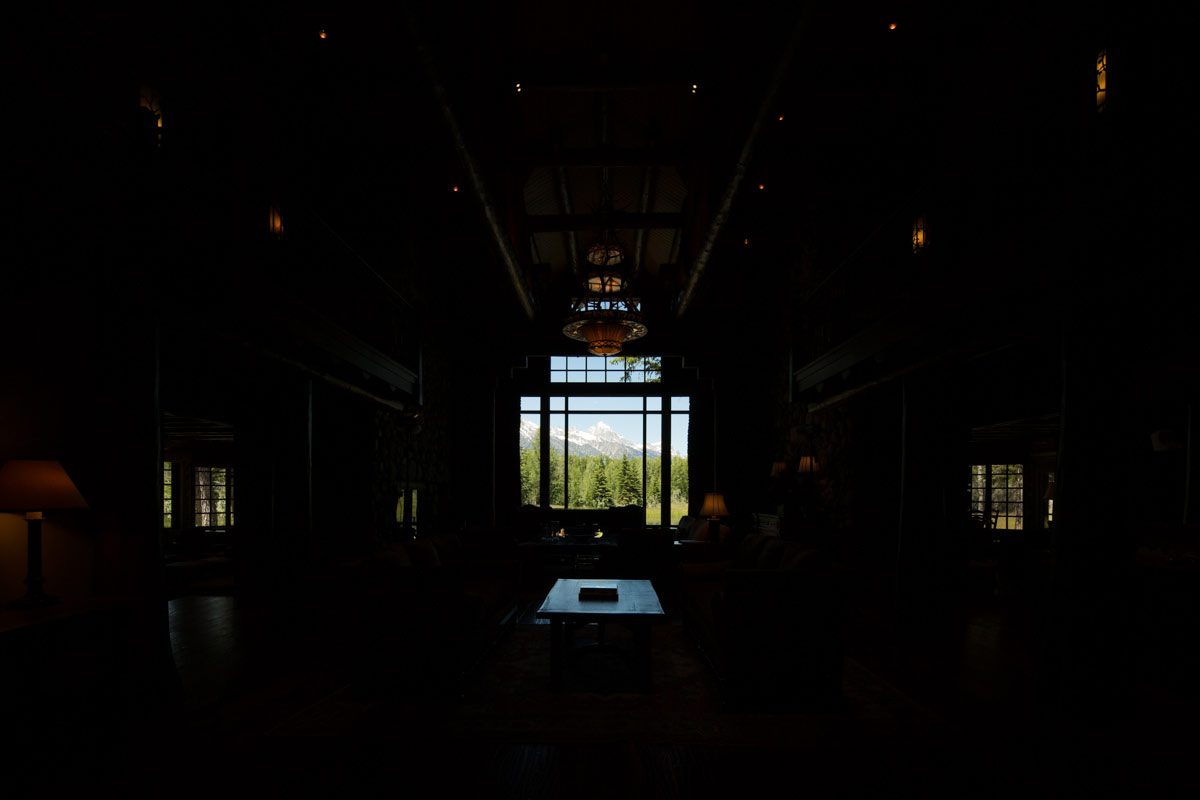
High Dynamic Range imaging is a very useful tool when it comes to working with images that have a great diversity of light to dark, I just don’t like the results. Simply put a camera just can’t see from shadow to bright as well as the human eye can. One of my goals is to create images that look as good as the actual scene, and sometimes better. Take a look at the first image below, this is what the camera sees. When in fact the human eye sees this and the incredible views of the Grand Tetons out the window. One solution is to use the built in function of HDR in the camera or take multiple images at different exposures and use one of many available softwares to combine the images using HDR processing. This can yield good results in some situations. For many situations, such as a log home where there are extremes from light to dark, the results are not great. And certainly not up to my, or my clients, standards.
I also use multiple exposure to create the image in this situation but through a very different process. Here’s how it works.
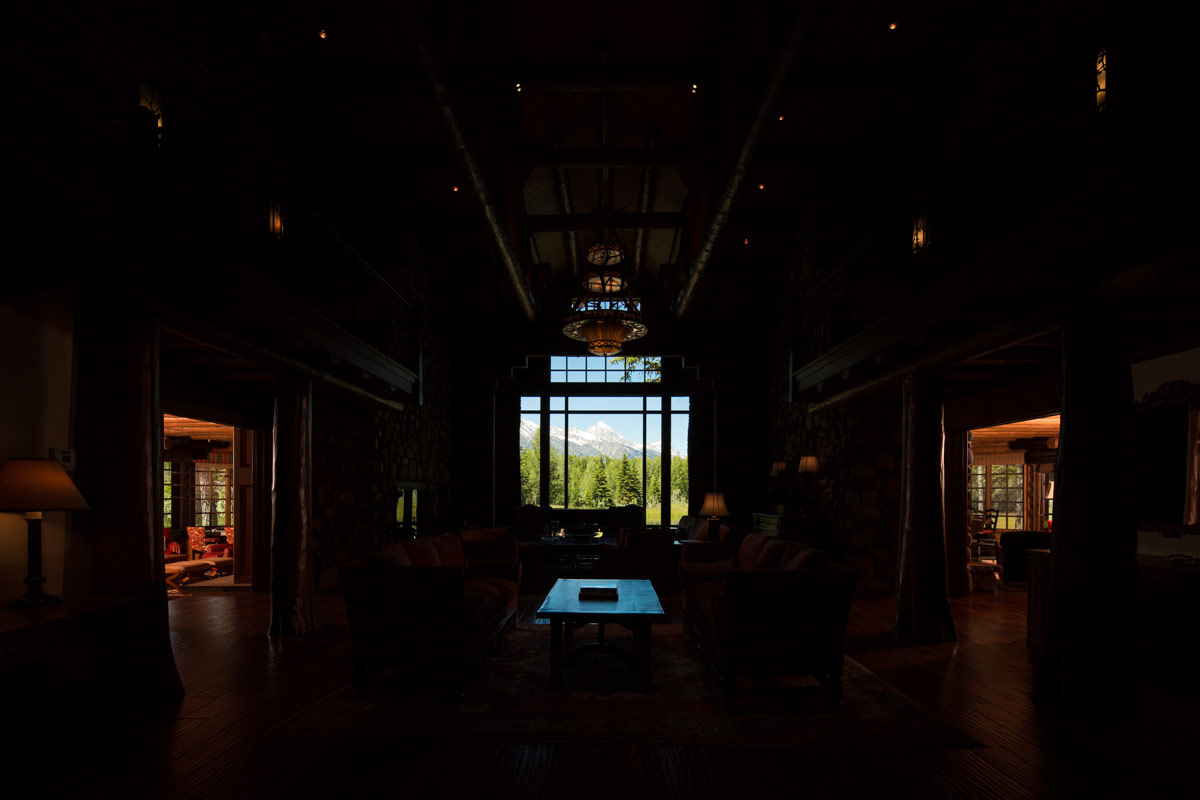
This first image is simply the available light and an exposure for the inside of the home. Obviously this does not do justice to what this home has to offer.
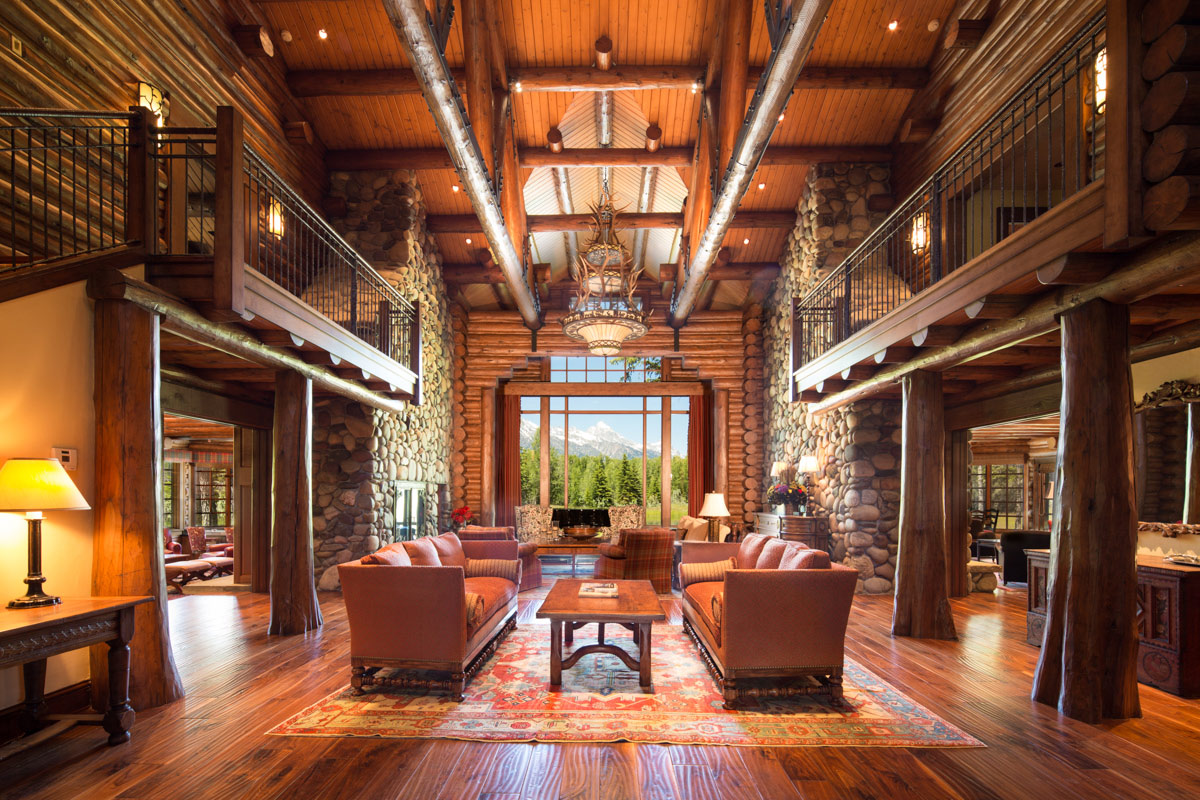
In this image I have used lights to bring up the exposure of the interior walls surrounding the main windows to match that of the outdoors.
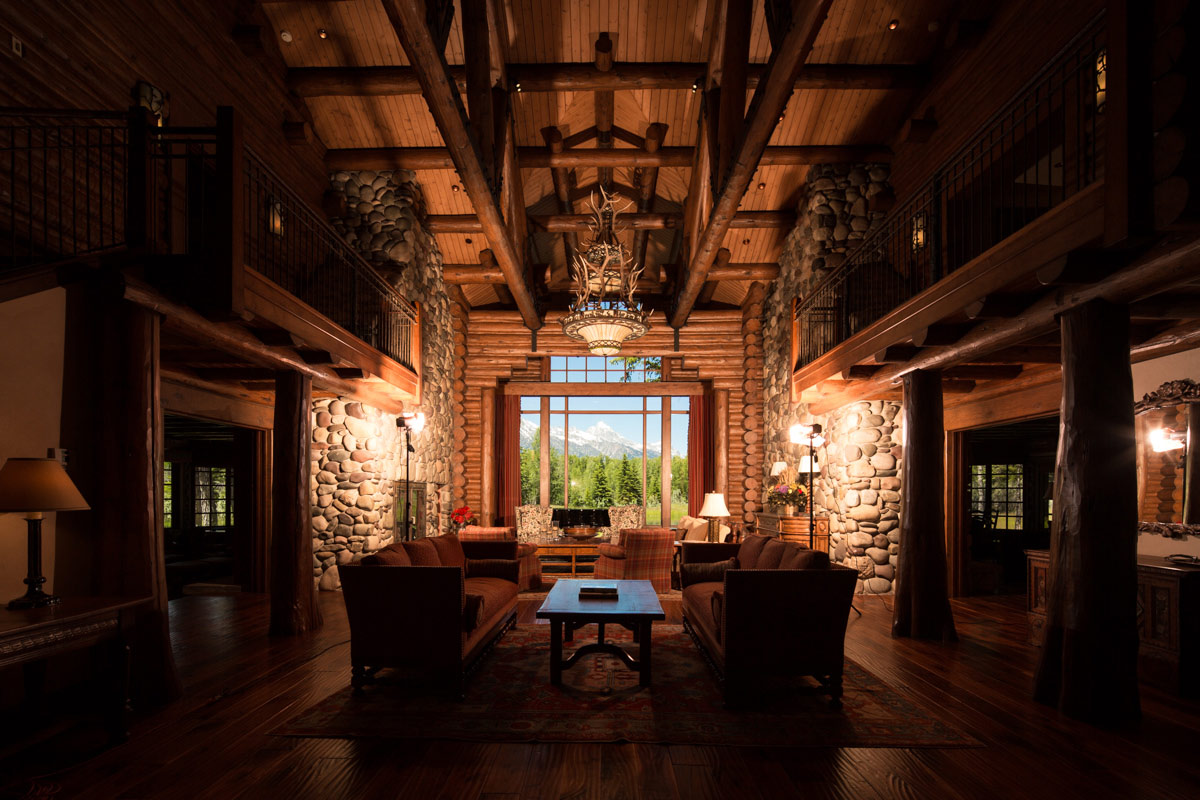
And here is the exposure where I’ve done the same with the side room windows.
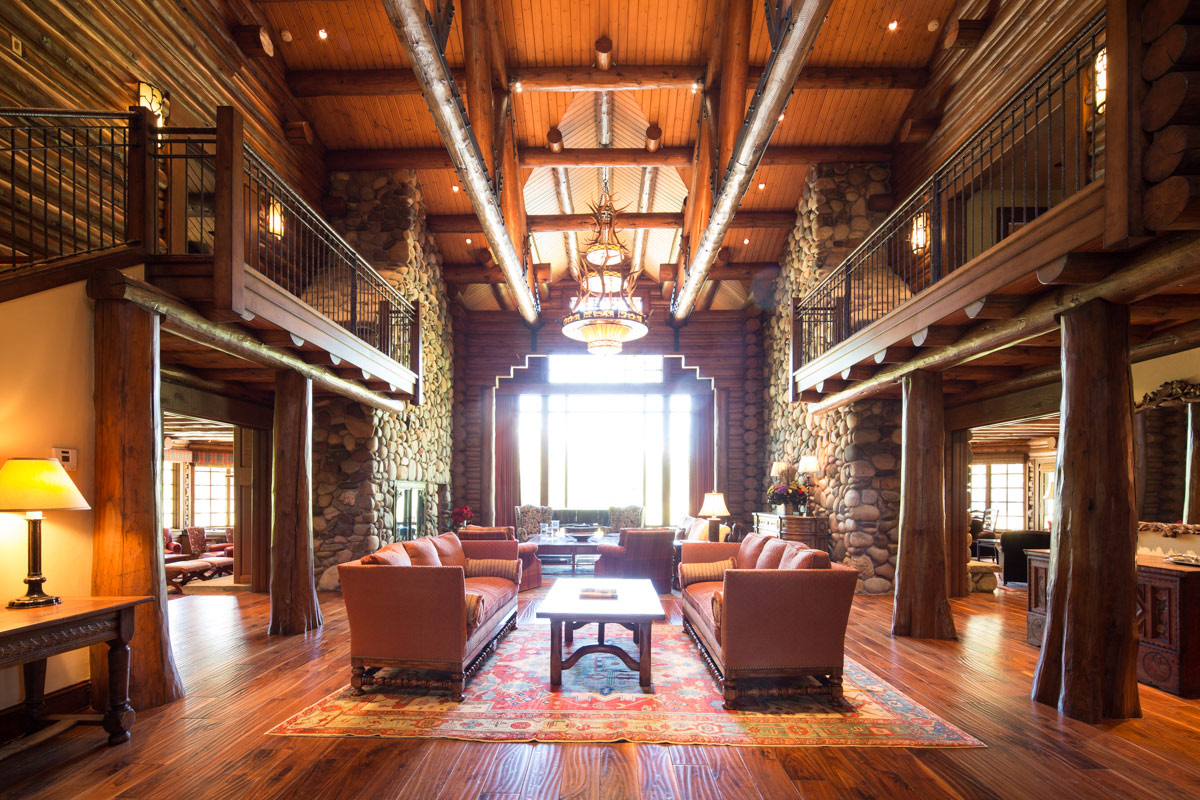
This exposure is simply to make sure I have all the windows without my lights reflecting in the glass.
Here we are blocking the glare from hitting the table in the foreground.
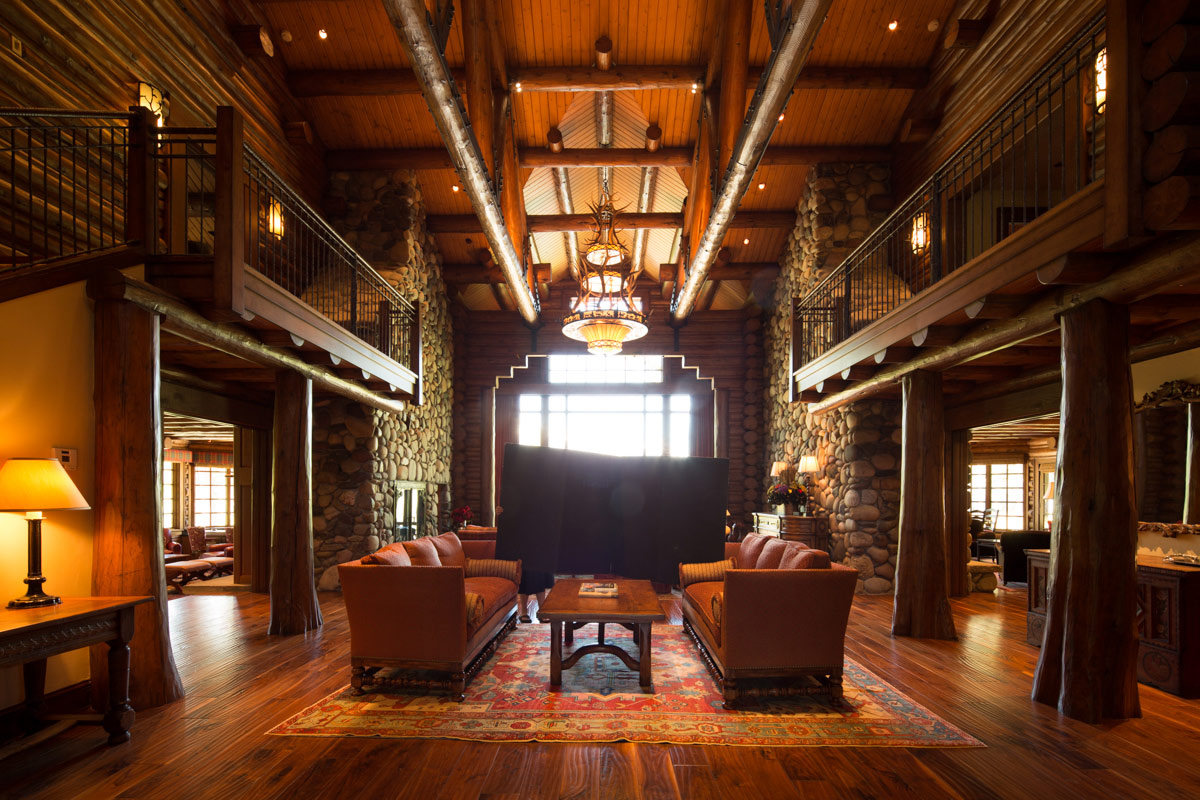
The Photoshop work required 7 layers, 5 of which had masks and yielded a 1/2 gigabyte file. It’s a fair bit of work but when the goal is an exceptional photograph that truly reveals the space it is so worth while. This is a situation where digital manipulation creates an image that is more like what the eye sees.